Getting started: your first week
Set up your business, add your services, your first client and your first cleaner, then put a job on the schedule. About half an hour, start to finish.
What FlexMaid does
FlexMaid holds your schedule, your client list and your team in one place. You book jobs, your cleaners see them on their phones, they log the hours they worked, and at the end of the week you get a page that tells you who is owed what. Clients can request a booking from your website if you want them to.
There are two kinds of login. You are the owner — you see everything. Your cleaners see only the jobs assigned to them, and never see a client's phone number, email address or your private notes. That split is enforced by the database itself, not just hidden in the app, so there is nothing you need to configure to keep it that way.
Create your account
Step 1: Go to flexmaid.ca and click Start Free Trial.
Step 2: Fill in your name, your business name, your email and a password.
The business name you type here becomes your organisation. Everything — clients, jobs, cleaners — lives inside it, and nobody outside it can see any of it.
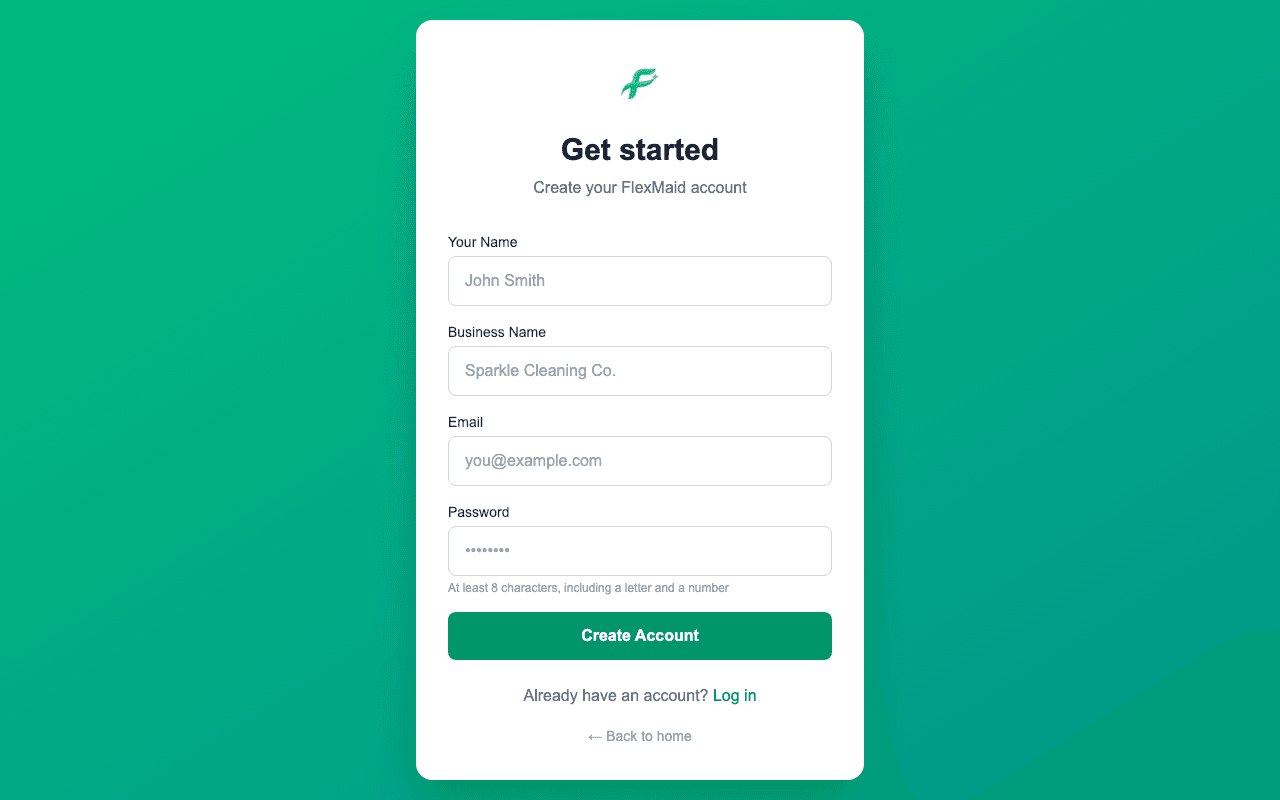
Step 3: Click Create Account.
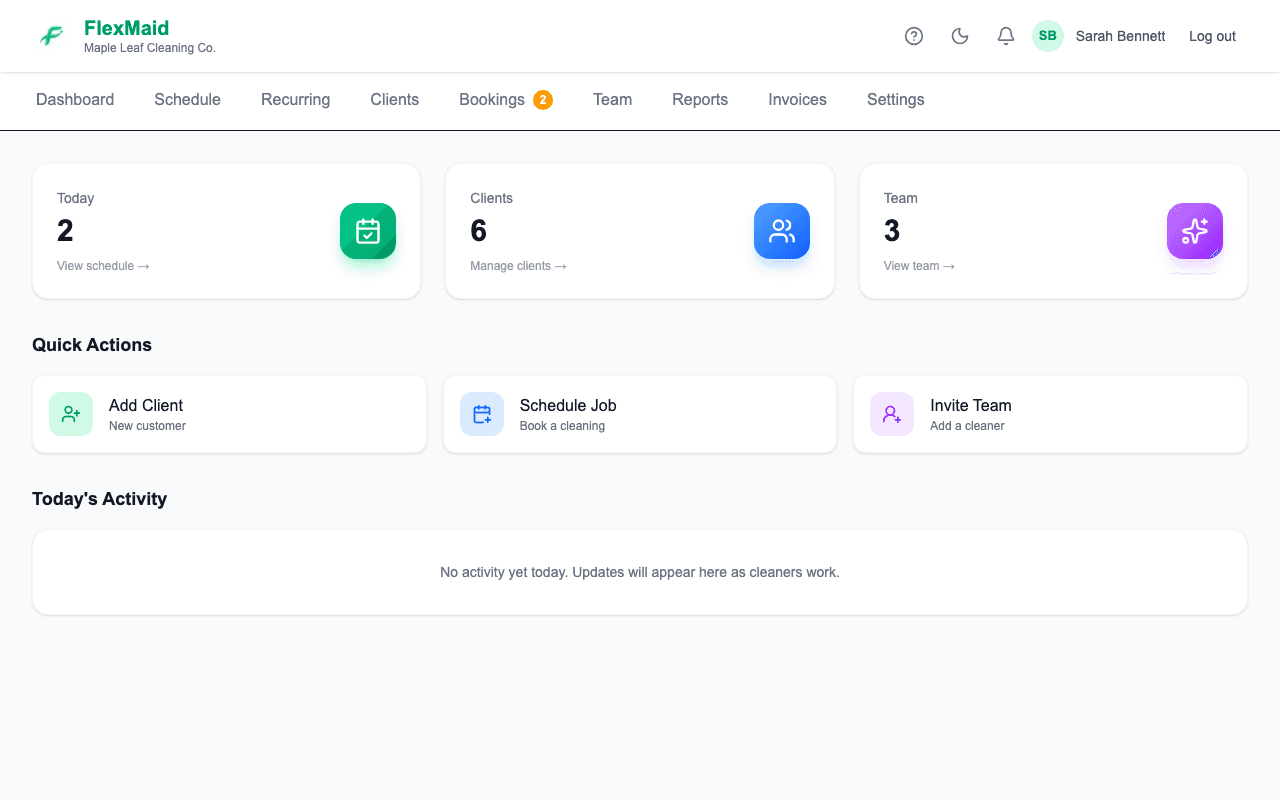
Open the email and click the button in it, then click the button on the page that opens. The page does not sign you in just by loading the link. After that you land on your dashboard.
Set up your business details
Open Settings from the top menu. It has three tabs: Business, Services and Booking.
Step 1: On the Business tab, fill in your business information and your hours of operation.
Your hours are what the online booking page offers to clients, so it is worth getting them right even if you are not using online booking yet.
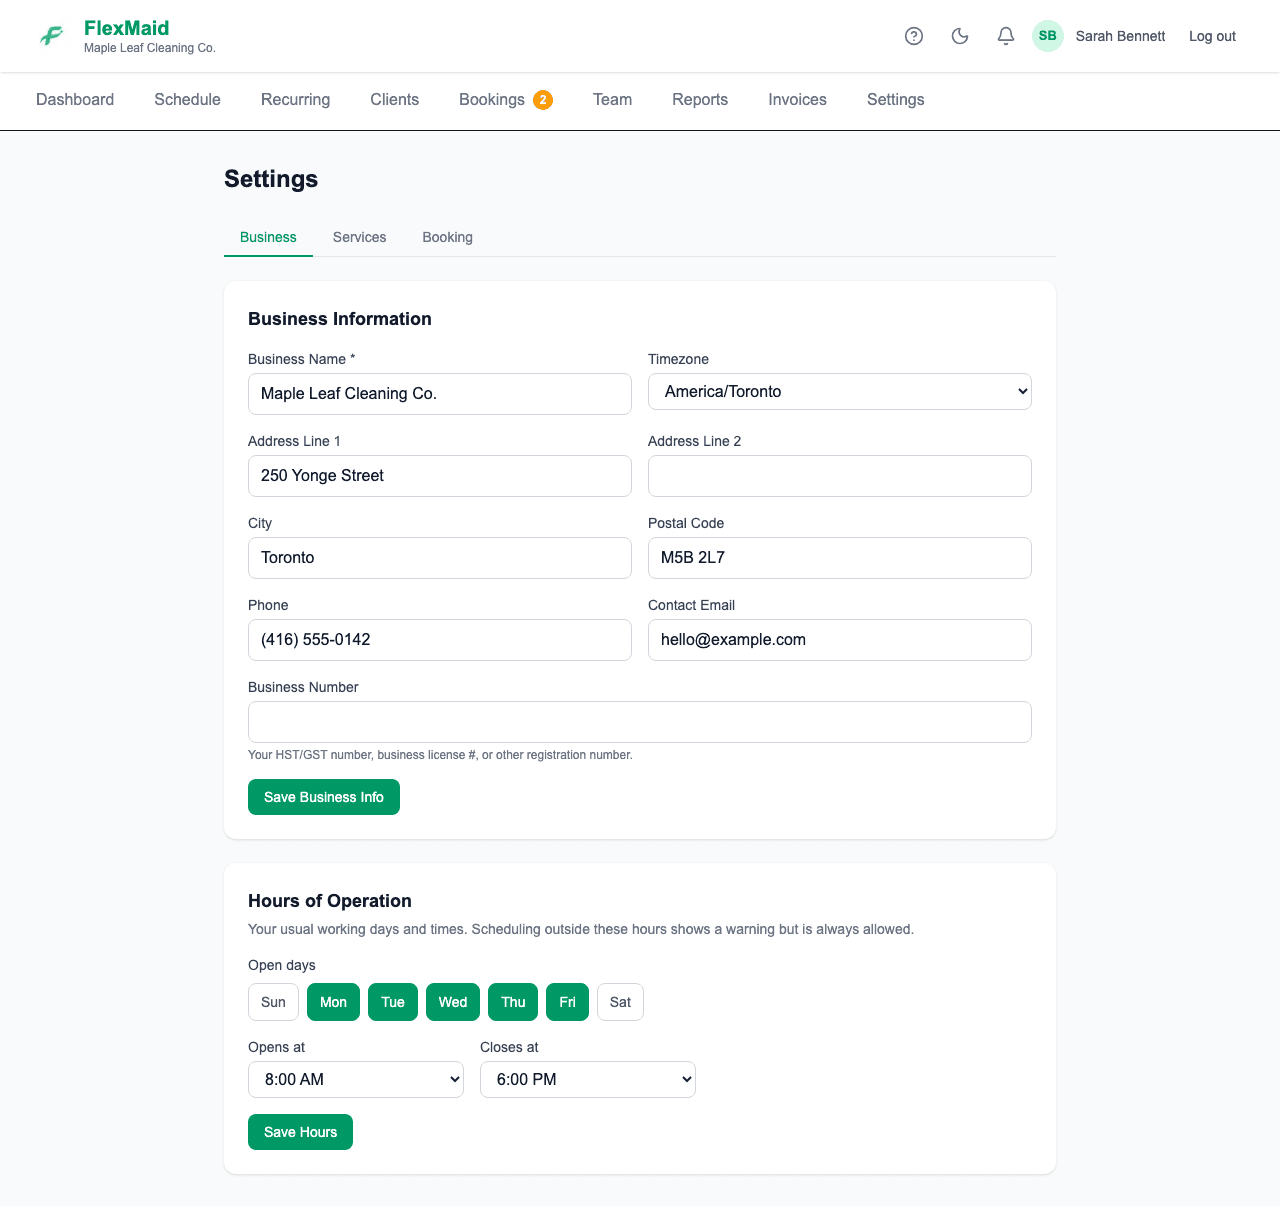
Step 2: Check your time zone.
This is the one setting that quietly affects everything else. Every time on the schedule, on the timesheet and in reports is shown in this zone. If it is wrong, your hours reports will be out by that many hours.
Set your time zone before you log any hours
Changing it later does not go back and reinterpret hours that were already recorded. Get it right on day one.
Add your services
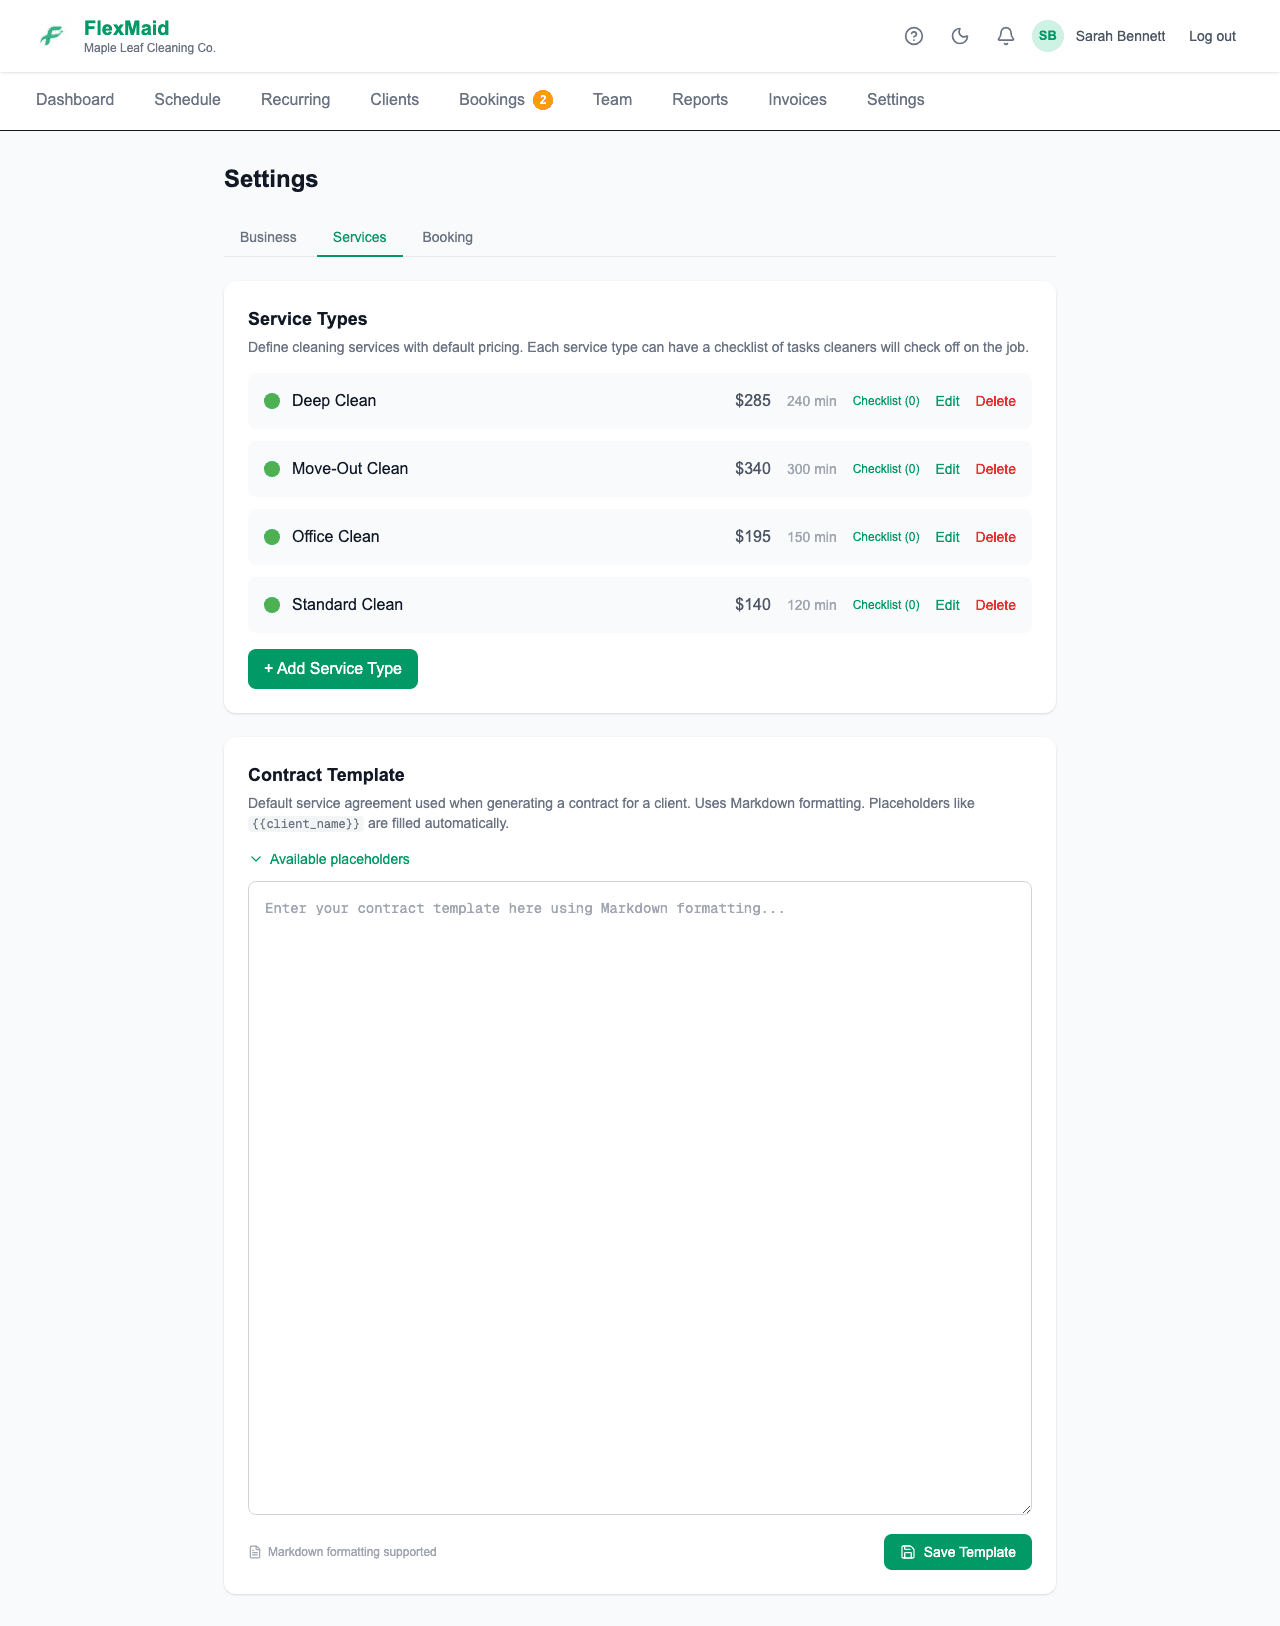
A service type is the kind of clean you sell — "Standard Clean", "Deep Clean", "Move-Out". Each one carries a default price and an estimated duration, which get filled in automatically every time you book that service. You can override both on any individual job.
Step 1: Go to Settings → Services and add each service you offer.
Two or three is plenty to start. The estimated duration is what blocks out space on your schedule, so make it realistic rather than optimistic.
Add your first client
Step 1: Go to Clients and click the add-client button.
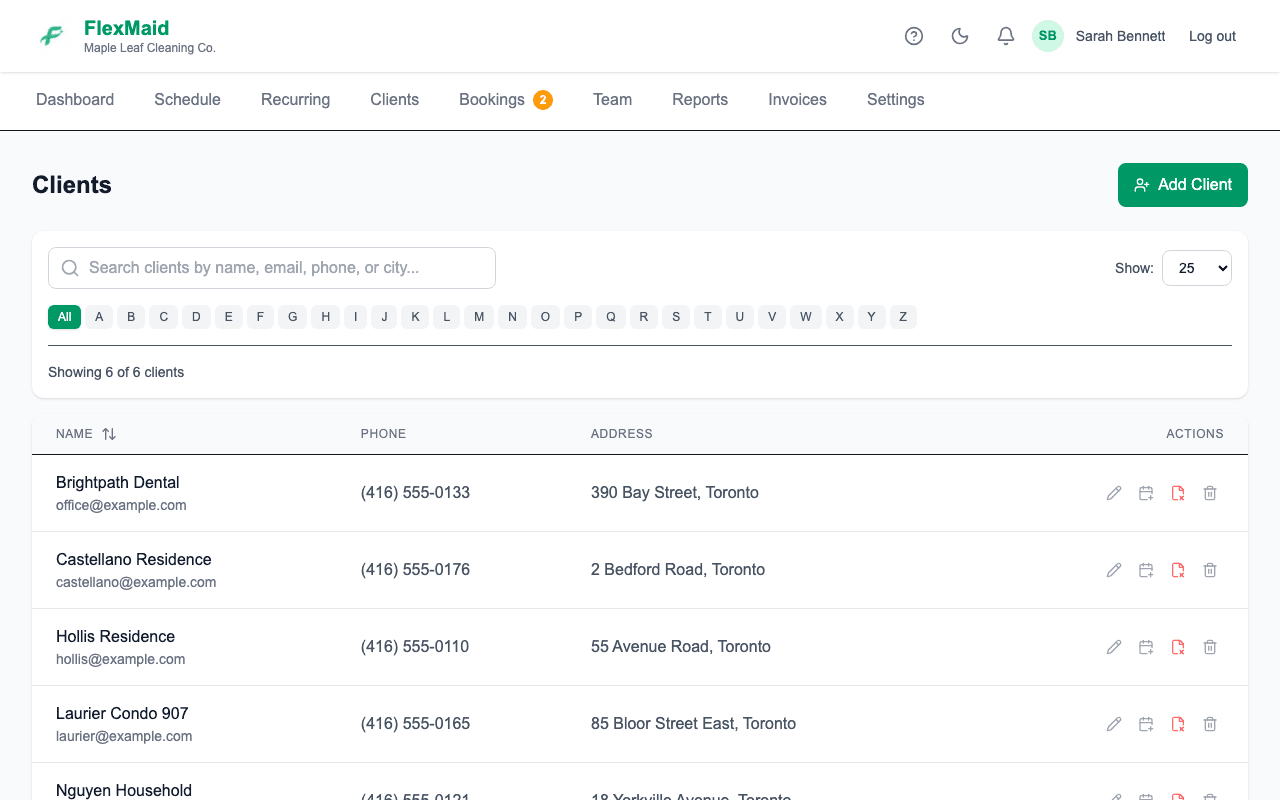
Step 2: Fill in their name and address. Everything else is optional.
The address field suggests real addresses as you type, which saves your cleaners from a wrong house number.
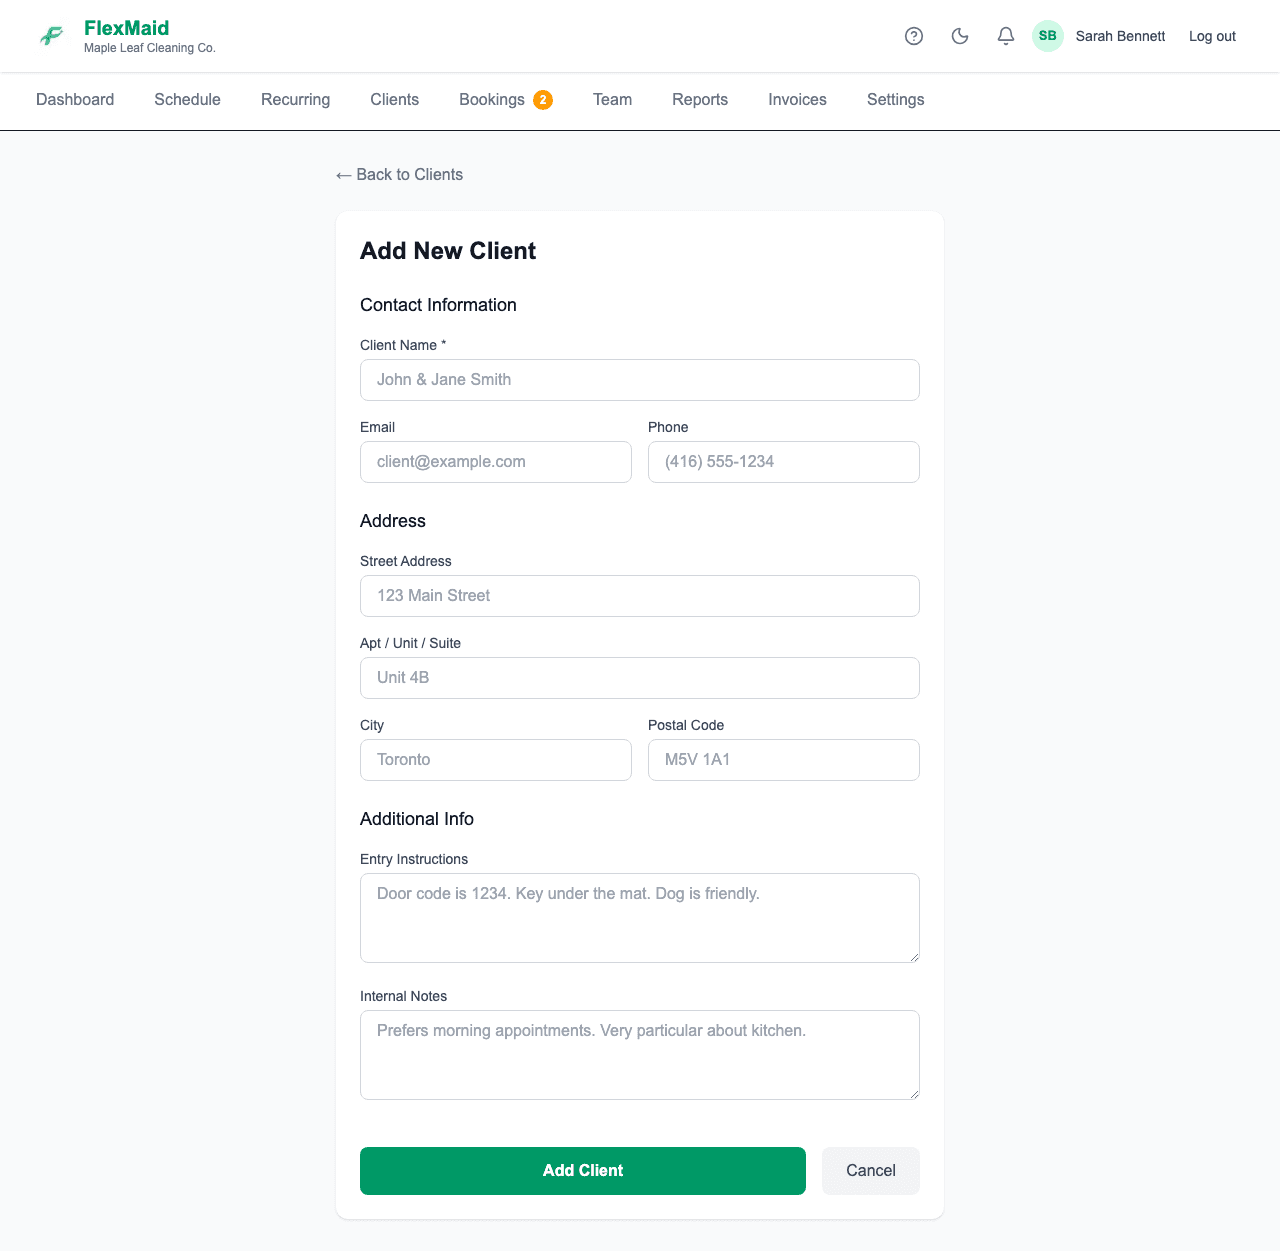
Step 3: Put anything the cleaner needs to get in — lockbox code, side door, dog — in Entry instructions.
This is the one client field cleaners can read. It shows up on the job card on their phone. Anything you put in internal notes stays private to you.
Add your first cleaner
Step 1: Go to Team and invite a team member.
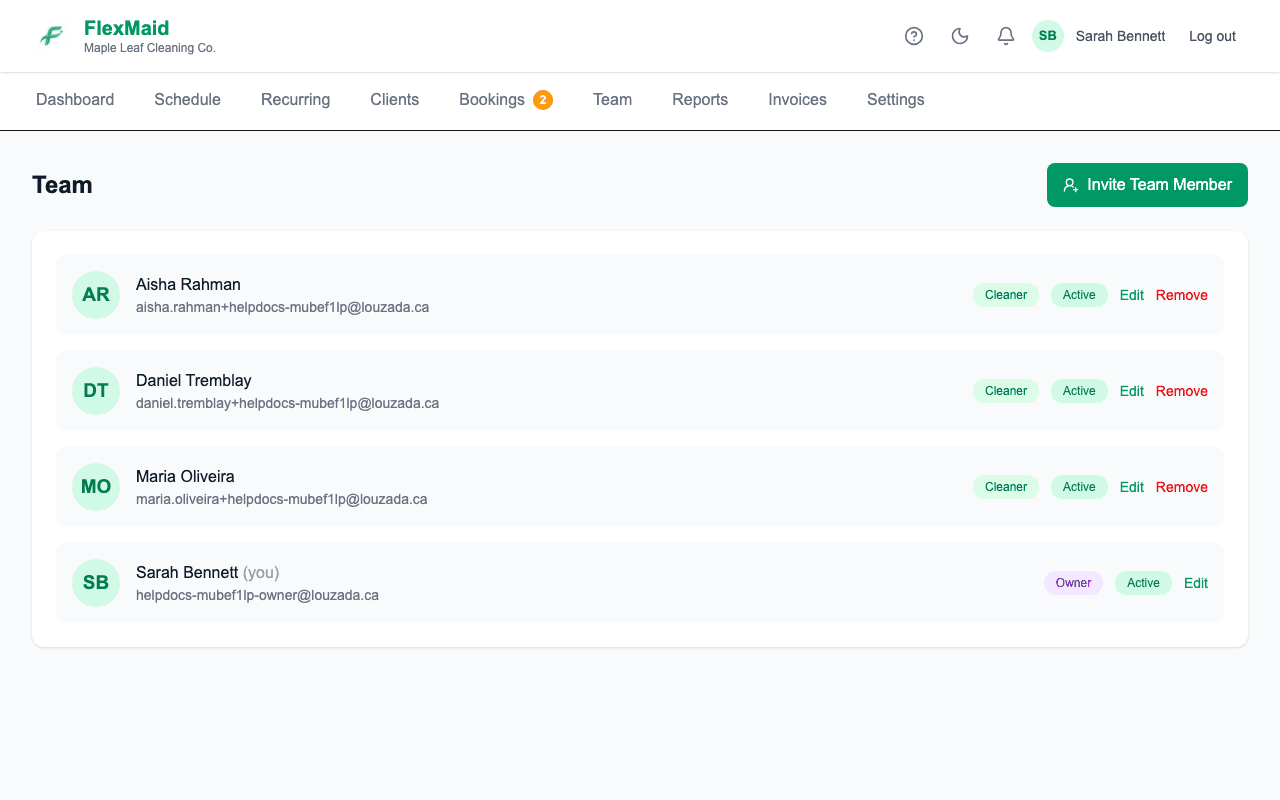
Step 2: Enter their name, email and hourly rate, then send the invite.
The rate is what drives the payroll figures on your Reports page. You can leave it blank and add it later, but then nothing is calculated for them.
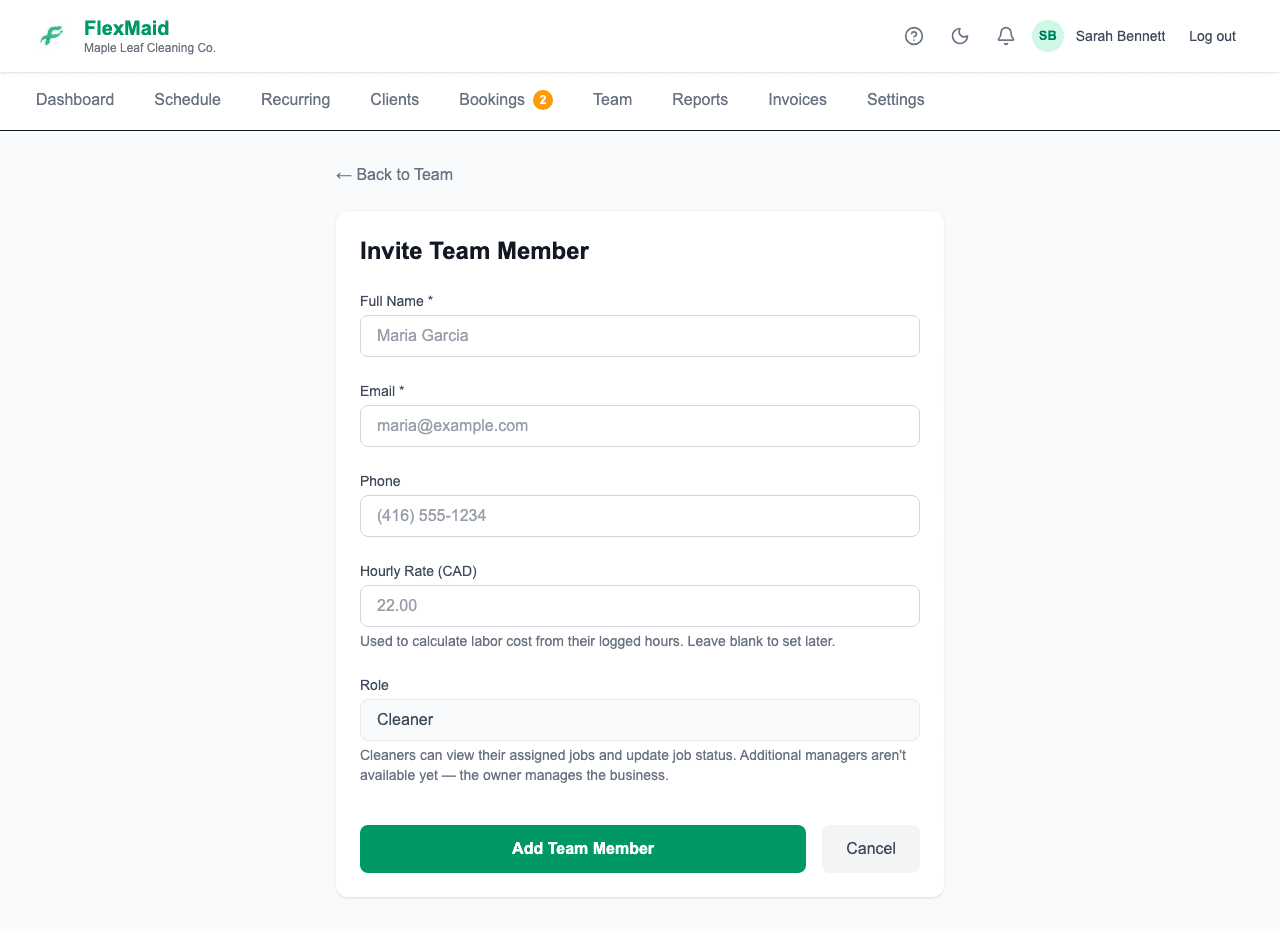
If a cleaner never receives the invite email, you do not have to wait. Open them from the Team list and use Reset Password to set a password yourself, then tell them what it is. See Managing your team.
Book your first job
Step 1: Go to Schedule and click New Job.
Step 2: Pick the client, the service, the date, the start time and who is doing it.
Ticking a cleaner assigns them. If you leave every box unticked the job is created unassigned — useful when you know the work but not yet the person.
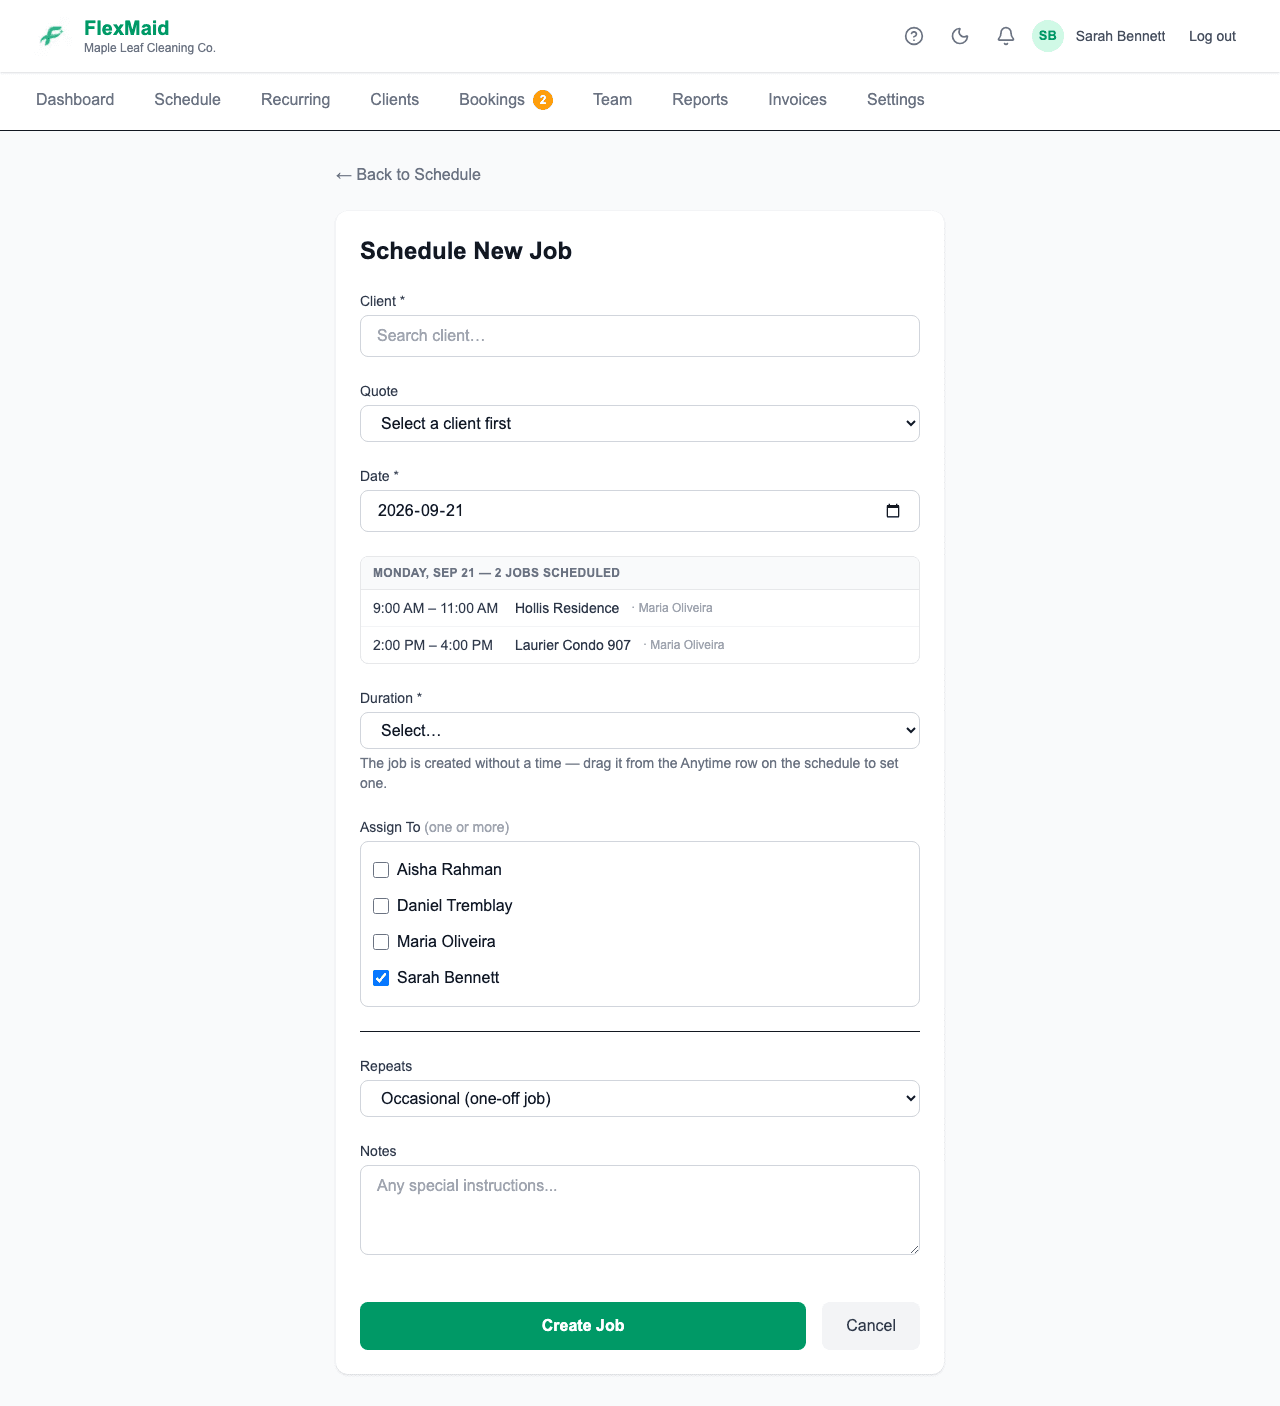
Step 3: Save. The job appears on the week grid, and the cleaner you assigned gets a notification.
A job with no start time is invisible to your cleaners
Jobs without a time sit in the Anytime tray above the schedule, where only you can see them. Cleaners are shown booked work only. Give the job a time and it appears on their phone. This is the single most common "my cleaner says they see nothing" cause.
What to do next
- Set up recurring jobs for clients you see every week or every two weeks — most of a cleaning schedule builds itself this way.
- Turn on online booking so people can request a clean from your website.
- Read how hours are recorded before your first payroll run, so the numbers on the Reports page make sense.
Common questions
- Do I need to install anything?
- No. FlexMaid runs in a web browser. On a phone you can add it to the home screen so it opens like an app — see Installing FlexMaid on your phone.
- Can two people manage the business?
- Not today. Each business has one owner login, and everyone else is a cleaner. If you need a second manager, email support@flexmaid.ca and tell us — it helps us prioritise it.
- What does it cost?
- $9.99 CAD a month, with no per-cleaner charge. See flexmaid.ca/pricing.
Related
Still stuck?
Email support@flexmaid.ca and tell us what you were trying to do. A real person answers.